I have been thinking about doing a clean install on my main work Mac for a couple of weeks, and last night I bit the bullet and went for it. All in all an incredibly easy process (with just one reboot) and my machine now feels significantly faster for the effort.
The beauty of the Mac is that when you get a new one, you can just run the migration assistant software and your new machine will be up and running as soon as the files are copied across. Inevitably over time the OS builds up cruft and begins to slow down (we’re not talking Windows here which I used to reinstall every 4 months when I ran it as my main machine). According to the entries in my keyring file the profile I had been running started back in 2004, so it was about time to start with a clean slate.
As much for my own benefit as anything, here is my checklist of the process I went through:
1) Backup machine using Super Duper!
2) Backup machine again to another disk using Super Duper! again. (This is my livelihood, can’t be too careful)
3) Make sure you have the original disks for your machine, any old copy of OS X will not necessarily work unless you bought a shrink wrapped copy of the OS.
4) Wipe out the hard drive and install OS X from the DVDs
5) Disconnect iPhone and external drives (just for belt and braces)
6) While this is going on download any missing install files for your required software list, this is mine:
– 1Password
– Adium
– Adobe Digital Editions
– Balsamiq
– Billable
– Chicken of the VNC
– CSSEdit
– Cyberduck
– DoubleTake
– Evernote
– Firefox
– Flickr Uploader
– Goto Meeting
– Grand Perspective
– iSquint
– iStopMotion
– JungleDisk
– Mouseposé
– NetNewsWire
– Notes
– OpenOffice
– Parallels
– PathFinder
– QuickSilver
– Skitch
– Skype
– SuperDuper
– TextMate
– TimeMachineEditor
– Tweetie
– VLC
– VMWare Fusion
– Vuze
– Wireshark
– HP Printer Drivers
– Eclipse
– iWork
– Adobe Air
– Stuffit
– Growl
– MenuMeters
7) Dig up the license keys for everything
8) After OS X install has finished, run a Software Update
9) Reboot
10) Install the above software list
11) Don’t open iTunes or iPhoto yet
12) From the SuperDuper! backup, copy your old iTunes directory over the new one
13) Do the same with the iPhoto directory
14) Do the same with the Documents directory
15) Copy in the iCal and Contacts as described here
16) Set up Time Machine
17) Set up SuperDuper! schedule
18) Start work
In all the process took me five hours from start to finish and my machine feels a lot better for it, so if you have a spare half day (or night in my case) then I’d highly recommend it. All usual rules apply, this list worked for me, if I’ve forgotten something then don’t blame me etc etc.
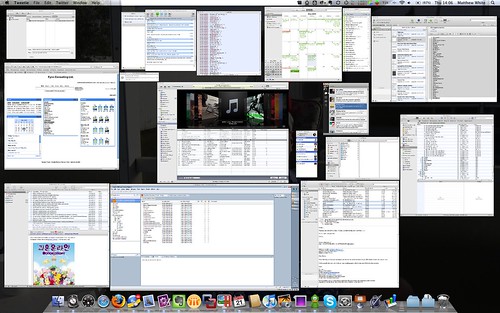
This is a screenshot of what I commonly run during the day hence the reason for wanting to squeeze every last ounce of performance I can get.

